DIY Pool Cover Reel Installation: Step-by-Step Guide for Pool Owners
Owning a pool comes with its joys, but managing the cover can be a hassle. A pool cover reel offers a practical solution, simplifying the covering and uncovering process while extending the lifespan of your pool cover. In this detailed guide, we will take you through the step-by-step process of a DIY pool cover reel installation. By the end, you'll be equipped with the knowledge to enhance the functionality of your pool area with ease.
Materials Needed:
Before diving into the installation process, it's crucial to gather the necessary materials. A typical DIY pool cover reel installation requires the following tools:
1. Pool Cover Reel Kit
Ensure you have a comprehensive kit that includes all the necessary components for your specific reel type. Some kits may come with additional accessories like cover straps or fasteners for added security.
2. Cordless Drill
Opt for a drill with variable speed settings to ensure precise and controlled fastening. This can be particularly useful when securing the reel brackets onto the deck or other surfaces.
3. Screwdriver
Consider a multi-bit screwdriver for versatility during the installation. Some pool cover reel kits may include specialized screws, and having the right screwdriver attachment can streamline the process.
4. Measuring Tape and Level
Choose a durable measuring tape with clear markings and a reliable level. Investing in a laser level can provide even greater precision when marking placements and aligning the reel.
5. Pencil
While a standard pencil is sufficient, using a grease pencil or chalk can make marking on different surfaces, especially outdoors, more visible and easier to manage.
6. Wrench
Opt for an adjustable wrench with a comfortable grip. Some reel kits may have specific requirements for the size of the wrench needed for securing anchor straps or brackets.
7. Concrete Anchors
If installing on a deck, select high-quality concrete anchors designed to withstand outdoor conditions. Look for corrosion-resistant options for longevity and durability.
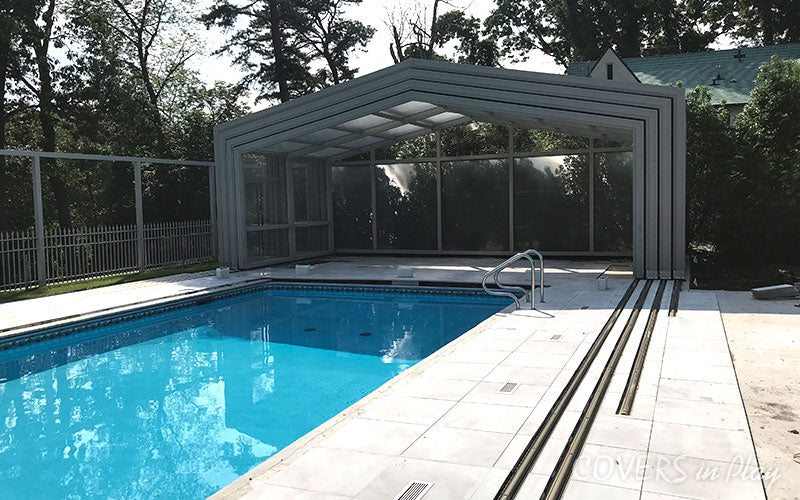
Step 1: Choose the Right Location
Selecting the optimal location for your pool cover reel is a critical first step. Consider the following factors:
- Accessibility: Ensure the chosen location is easily accessible not only for you but also for any potential maintenance or adjustments to the reel in the future. If possible, choose a location that allows for unobstructed movement around the reel.
- Proximity to Power Source: If opting for a motorized reel, not only should the location be near a power source, but it's also essential to plan the wiring route discreetly. Consider using outdoor-rated extension cords or consult with an electrician for a permanent power supply.
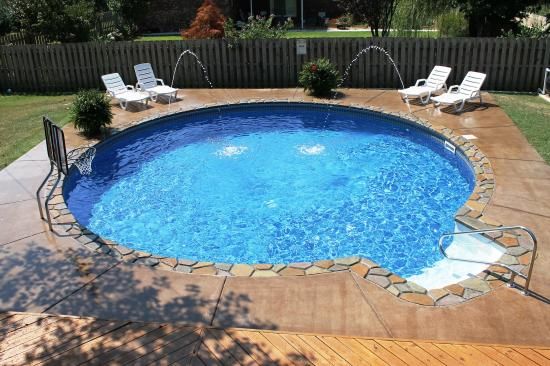
- Aesthetics: While functionality is key, aesthetics play a role in the overall appeal of your pool area. Consider the visual impact of the reel in your chosen location and how it integrates with the surrounding environment.
Step 2: Measure and Mark Placement
Accurate measurements are key to a successful installation. Use a measuring tape and level to:
- Determine Distance: Beyond simply measuring the distance from the edge of the pool, consider the overall layout of your pool area. Measure from key landmarks or features to ensure a balanced and visually appealing placement of the reel.
- Ensure Alignment: When marking the placement with a pencil, take an extra step to use a straightedge or a level to confirm that the markings are level and evenly aligned. This meticulous approach can contribute to the overall symmetry of your pool cover reel setup.
Step 3: Assemble the Reel
Follow the manufacturer's instructions to assemble the pool cover reel. This typically involves:
Connecting Reel Tubes: Pay attention to any specific instructions regarding the alignment and orientation of the reel tubes. Some reels may have directional indicators or markings to guide the proper assembly.
- Attaching Hand Crank or Motor Assembly: During the assembly of the hand crank or motor assembly, take note of any lubrication or calibration instructions provided by the manufacturer. Proper assembly ensures the smooth operation of the reel.
Step 4: Secure the Reel to the Deck or Ground
Proper securing ensures the stability of the reel. Depending on your installation surface:
- Deck Installation: Before using a cordless drill to secure the reel brackets to the deck, assess the deck's material. If it's a composite or delicate wood, consider pre-drilling holes to prevent splintering or damage.
- In-Ground Installation: When using a wrench to secure the reel's anchor straps or brackets into the ground, be mindful of the soil composition. In sandy or loose soil, consider additional reinforcement or longer anchors to ensure stability over time.
- Concrete Anchors: If you opted for concrete anchors, follow the manufacturer's guidelines for installation. It's essential to choose anchors that are appropriate for the type of deck material you have, and ensure a secure fit to prevent any wobbling or shifting.
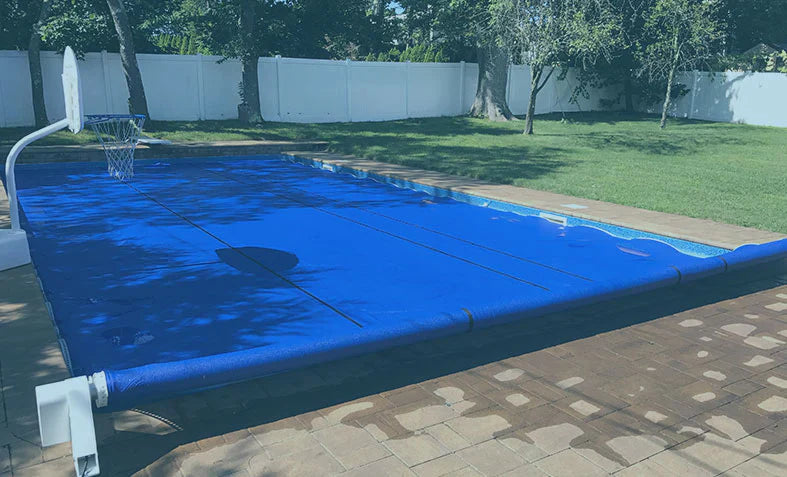
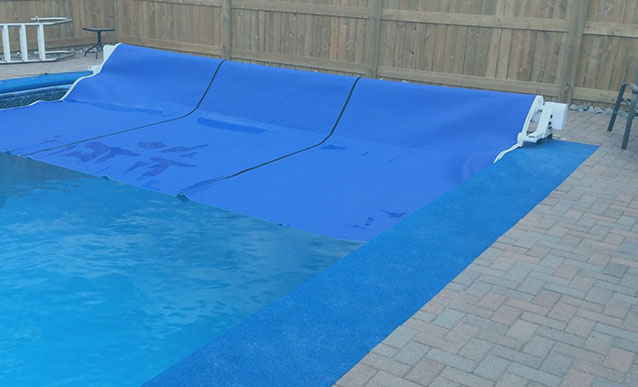
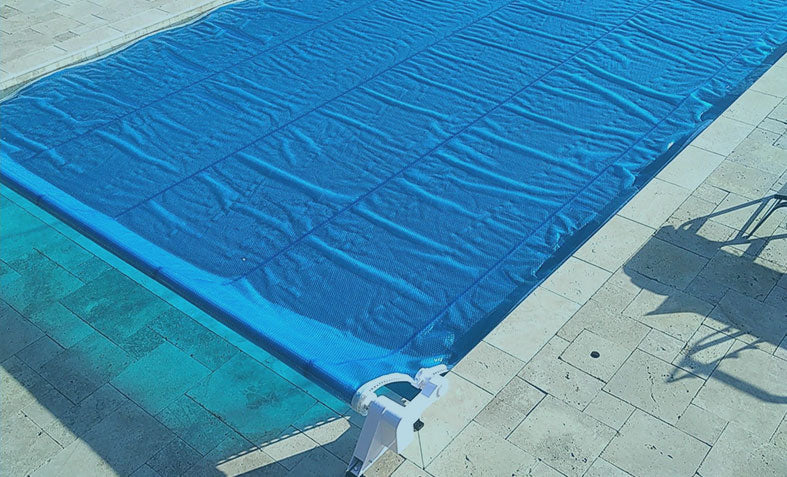
Step 5: Attach the Cover to the Reel
With the reel securely in place, unroll the pool cover across the pool's surface. Follow these steps:
- Align the Cover: Beyond ensuring that the cover is evenly aligned along the pool's edge, take note of any directional features on the cover itself. Some covers may have markings or indicators that guide the correct alignment.
- Secure Leading Edge: When attaching the cover's leading edge to the reel's locking mechanism, inspect the locking mechanism for any additional features. Some reels may have a two-step locking process or a visual indicator to confirm that the cover is securely fastened.
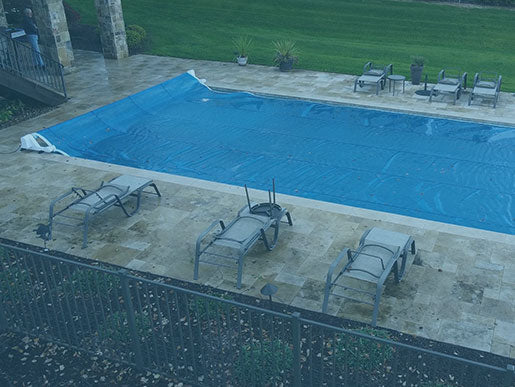
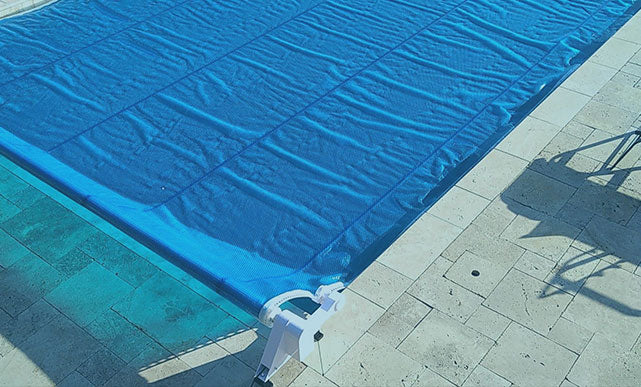
Step 6: Roll Up the Cover
Using the hand crank or motor assembly:
- Operate the Reel: Gently roll up the cover onto the reel. Pay attention to the tension on the cover and ensure that it is tight and evenly distributed. If using a motorized reel, follow any speed or torque recommendations to prevent strain on the motor.
- Check for Sagging: While rolling up the cover, periodically stop and check for any sagging or uneven distribution. Adjust the tension or alignment as needed to maintain a taut cover.
Step 7: Secure the Cover in Place
Most pool cover reels have mechanisms to secure the cover in place:
- Locking Mechanism: Engage the locking mechanism as directed by the manufacturer. Some mechanisms may require a two-step process, such as engaging a primary lock and then a secondary safety lock. Familiarize yourself with these features to ensure the cover is doubly secured.
- Check Tension: Confirm that the cover is securely in place and maintains proper tension. If you notice any slack or unevenness, revisit the reel and cover attachment points to address any issues.
Step 8: Test the Operation

- Operational Test: Use the hand crank or motor to test the reel's functionality. Pay attention to the smoothness of the operation and listen for any unusual sounds. If using a motorized reel, check for any delays or irregularities in the motor's performance.
- Inspect Locking Mechanism: During operation, periodically inspect the locking mechanism. Ensure that it securely holds the cover in place without any signs of slipping or disengagement.